Introduction:
Website accessibility is crucial to ensure that all users, including those with disabilities, can access and use your website effectively. Digital accessibility testing services are a vital part of the development process to identify and address potential issues. Creating an accessibility testing checklist can help you systematically evaluate your website’s accessibility and make necessary improvements. In this blog post, we’ll guide you through the process of creating an accessibility testing checklist.
Why Accessibility Matters:
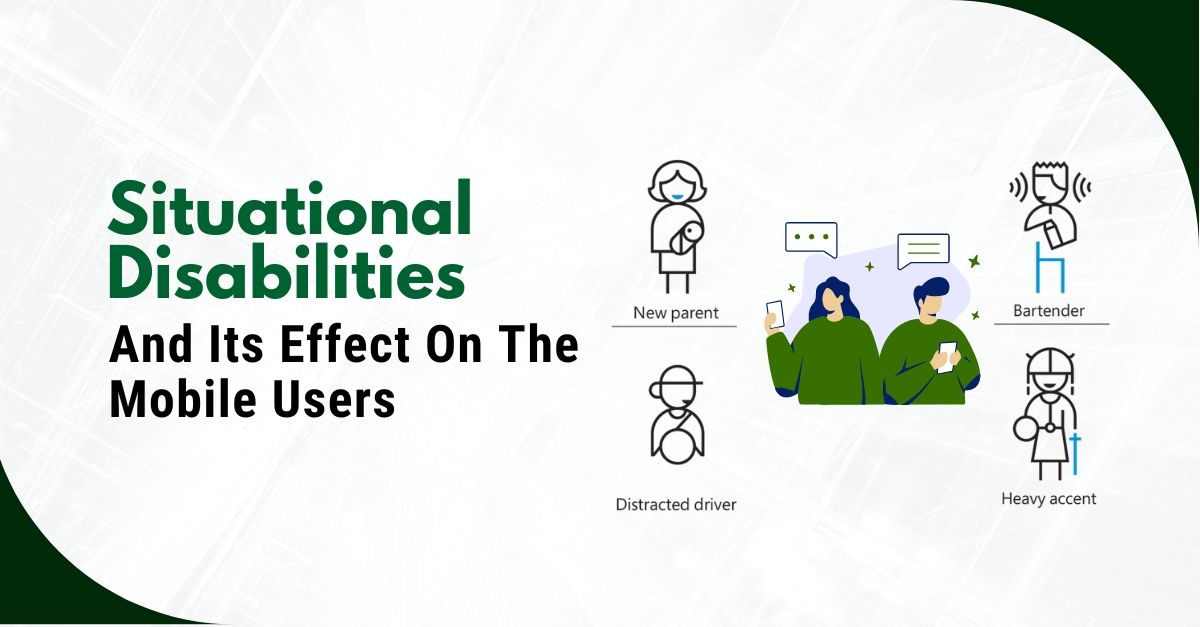
Before diving into the checklist creation process, it’s important to understand why website accessibility is essential. Digital accessibility testing services ensure that your website can be used by a broader audience, including people with disabilities, older users, and those using assistive technologies. Neglecting accessibility can result in legal issues, loss of potential customers, and a negative brand image.
Creating an Accessibility Testing Checklist:
- Understand Accessibility Guidelines:
The first step in creating an accessibility testing checklist is to familiarize yourself with accessibility guidelines. The Web Content Accessibility Guidelines (WCAG) 2.1, developed by the World Wide Web Consortium (W3C), are the most widely accepted standards. WCAG provides a comprehensive set of guidelines that cover various aspects of web accessibility.
- Identify Key Accessibility Principles:
Break down the WCAG guidelines into key accessibility principles that align with the structure of your website. Common principles include perceivability, operability, understandability, and robustness. Each principle encompasses specific guidelines and success criteria that must be met.
- Define Test Scenarios:
Next, create test scenarios that cover different aspects of your website. For example, test scenarios might include navigating the website using a screen reader, filling out forms using keyboard-only navigation, and testing for color contrast. These scenarios should address the accessibility principles you’ve identified.
- Select Testing Tools:
Utilize a combination of manual testing and automated testing tools to evaluate your website’s accessibility. Popular automated testing tools include Axe, WAVE, and Lighthouse. These tools can quickly identify common issues, but manual testing is essential for a comprehensive assessment.
- Test Keyboard Navigation:
Ensure that all interactive elements on your website, such as links, buttons, and forms, are accessible via keyboard navigation. Users with motor disabilities may rely on keyboards or alternative input devices.
- Check for ARIA Roles and Attributes:
Accessible Rich Internet Applications (ARIA) roles and attributes help make dynamic web content accessible to assistive technologies. Verify that ARIA roles and attributes are correctly implemented to enhance the user experience.
- Evaluate Text Alternatives:
Images, videos, and other non-text content should have appropriate text alternatives. Test that screen readers can convey meaningful information to users who cannot see or hear the content.
- Verify Color Contrast:
Ensure that text and interactive elements have sufficient color contrast to be readable by individuals with visual impairments. Tools like the WCAG Color Contrast Checker can assist in this evaluation.
- Assess Heading Structure:
Check the hierarchy of headings on your web pages. Properly structured headings help screen reader users navigate and understand the content’s organization.
- Test Forms:
Forms must be accessible to keyboard users and screen reader users. Check for labels associated with form fields, error handling, and the ability to submit forms without relying solely on mouse interaction.
- Evaluate Multimedia:
For audio and video content, provide transcripts, captions, and audio descriptions as needed. Test the playback controls and ensure they are keyboard-accessible.
- Review Focus Management:
Pay attention to how focus is managed as users navigate through interactive elements. Ensure that keyboard focus is visible and predictable.
- Test with Real Users:
Conduct usability testing with individuals who have disabilities. Their feedback can provide valuable insights into real-world accessibility issues.
- Document Findings:
Create a detailed report of accessibility issues identified during testing, including their severity and recommended fixes. Use this report to prioritize and track remediation efforts.
- Implement Remediations:
Address identified accessibility issues by modifying your website’s code, content, and design. Regularly retest to ensure that changes have resolved the issues.
- Ongoing Monitoring:
Website accessibility is an ongoing effort. Continuously monitor your website for accessibility compliance and make updates as necessary, especially when adding new content or features.
Conclusion:
Creating a digital accessibility testing checklist is a critical step in ensuring that your website is inclusive and accessible to all users. By following these steps and adhering to WCAG guidelines, you can identify and address accessibility issues, making your website a welcoming and usable platform for everyone, regardless of their abilities. Remember that accessibility is an ongoing commitment, and regular testing and maintenance are key to maintaining an accessible web presence.


